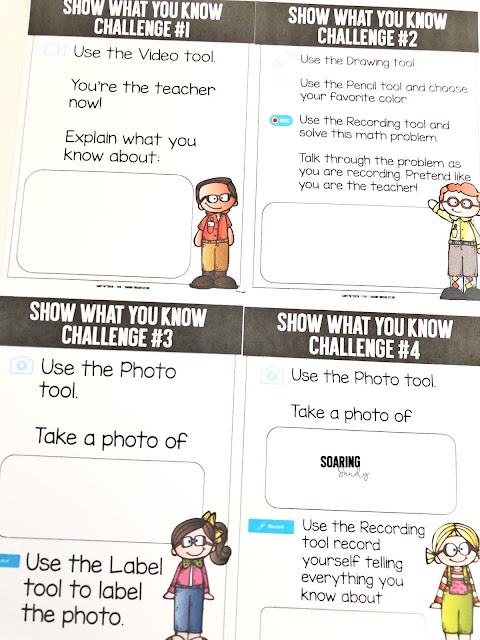
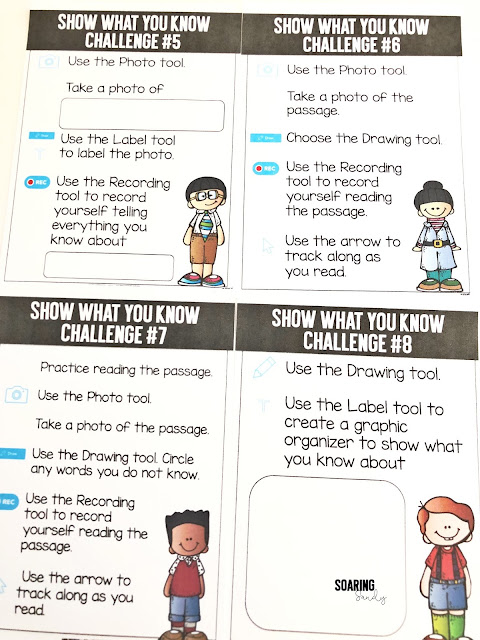
While talking with some teacher friends this summer and discussing activities we'd like to incorporate in our classrooms this upcoming school year, scoots came up. Here's a different twist if you have access to devices and Seesaw. If you're interested in getting started with Seesaw, make sure to check out THIS POST!
A quick note before I go into explaining how I use Seesaw for scoot activities in my classroom. The purpose of using Seesaw for Scoot activities is NOT to go paperless. Instead, it's to make student thinking visible. I can see student thinking when they are talking through their work using the Drawing tool in Seesaw. It may take a little longer, but I'd rather have one Seesaw upload where I can SEE what's going on in the student's head and where I can fill in gaps vs. having a worksheet with 25 answers on it that don't really show me student misconceptions. I am NOT using Seesaw to take a photo of the recording sheet, push it out to students, and have students record there answers on the digital recording sheet. (There's nothing wrong with this at all! I'm just going to explain a different way to use Seesaw and make student thinking visible here!)
I should also note, I also use a REGULAR recording sheet for scoot activities (I'll explain those below too!! It just depends on what we're working on and what I'd like my students to accomplish. So sometimes it's pencil/paper, sometimes it's Seesaw!
Scoots can be collaborative if you'd like them to be. Students can work in partnerships, or even in groups on tasks.
0
I should also note, I also use a REGULAR recording sheet for scoot activities (I'll explain those below too!! It just depends on what we're working on and what I'd like my students to accomplish. So sometimes it's pencil/paper, sometimes it's Seesaw!
Review ANY content! Scoots can be used for any content area review.
Use a scoot activity as an assessment to see where students are. Scoots are always more fun that a boring old pencil/paper/at your desk/don't talk assessment.
Scoots can be collaborative if you'd like them to be. Students can work in partnerships, or even in groups on tasks.
Scoots can be easily differentiated. For example, I might have three groups of students, one at grade level, one approaching, and one below.
Scoots can be used as a center activity. The prep is relatively easy and once students know how to do them, you can switch out the content so they don't get bored.
And my all time favorite reason to use scoot activities- MOVEMENT! Scoots get kids up and moving which can be a game changer. It brings the content to life a little more, and gets kids engaged. Especially if you "hide" ;) the task cards! It almost adds the element of a scavenger hunt to the mix when we "hide" them!
And of course, if you're using Seesaw, it'll make STUDENT THINKING VISIBLE!
And of course, if you're using Seesaw, it'll make STUDENT THINKING VISIBLE!
Task cards. These can be ANYTHING really! Math flash cards, word problems, pictures for vocabulary, or ANYTHING you are working on with your students! Label each card with a number to correspond to the recording sheet. You can find LOTS of these on Teachers Pay Teachers if you search for a skill + scoot. (ex. Addition Scoot)
Recording sheet. Students each need a recording sheet. This usually looks like a grid or table with numbers (one number for each task card.) When I'm not using Seesaw, I always have kids put these on a clipboard so they can easily walk around the classroom and record their thinking. If you're using Seesaw, Seesaw will actually be your recording "sheet" and you won't have to actually prep anything for students- just the task cards.
This recording sheet is from Bright Concepts 4 Teachers and the math problem is from my Seesaw Pumpkin Challenges pack.
This recording sheet is from Bright Concepts 4 Teachers and the math problem is from my Seesaw Pumpkin Challenges pack.
Now you can do this in lots of different ways! That's the beauty of it! Do what works for you and your students! I'll explain two ways below!
Option 1 (This is usually how I do it! I like this option because students can do it over time and there's no need to finish in a set amount of days or time. Students are also able to work on this independently or in groups!)
1. Hang your task cards up around the classroom. I always tell the kids I've "hidden" them (they're NOT hidden. At all. I just say that and it adds to the motivation and excitement!)
2. Teach students how to walk around the classroom quietly and match the problem with the spot on the recording sheet. For example, if a student finds card #5, they would place their answer or response to card #5 in box #5 on the recording sheet.
3. Students continue to walk around and complete activities or problems.
4. If they finish early, I always tell them to see if any friends need help.
If you want to use Seesaw for this (instead of a regular pencil/paper Recording Sheet), students will:
1. Find a task card.
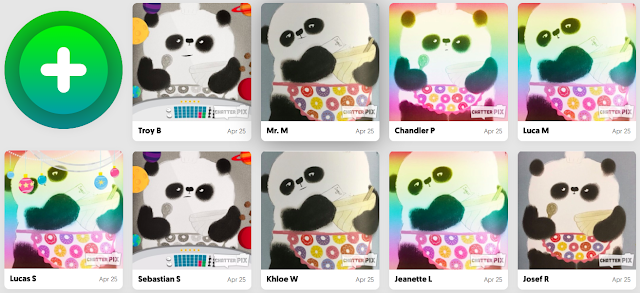
2. Press the green plus sign in Seesaw.
3. Choose the Drawing tool or Photo tool (depending on the task card. If it's a math problem, you'll probably want them to choose the Drawing tool to show their work. If it's a vocabulary card, you might want them to take a photo of the card then use Seesaw to explain the word and use it in a sentence.)
4. Use the Text tool or the Pencil tool to add the number of the task card. *Make sure to explicitly state this!!!!
5. Press Record and complete the problem or task.
6. Upload your work with the green check mark.
Here's a quick video on how to use the Drawing tool to complete a task during a scoot.
And here's a quick video on how to use the Photo tool to complete a task during a scoot.
Option 2 (This is a more fast paced option)
1. Students each place a task card at their desk.
2. Decide on a set amount of time for each problem (anywhere between 30 seconds to 2 or 3 minutes depending on the task and how much time students might need to complete it).
3. Start the timer. Students begin working on their problem at their desk.
4. When the timer goes off, students "scoot" clockwise (or counterclockwise- whatever you want. Just make sure to teach students how to do this first!) to the next task card and begin working on that one.
5. Make sure to explicitly teach and remind students how to match the problem with the spot on the recording sheet.
OR, if you'd like to use Seesaw...
1. Students each place a task card at their desk.
2. Decide on a set amount of time for each problem (anywhere between 30 seconds to 2 or 3 minutes depending on the task and how much time students might need to complete it).
3. Students begin a new upload in Seesaw (green plus sign, and either Photo tool or Drawing tool). Explicity teach students how to add the number of the task card to the upload using the Drawing tool or Text Label tool.
3. Start the timer. Students begin working on their problem and recording their thinking.
4. When the timer goes off, students upload their work (green check mark), and "scoot" clockwise (or counterclockwise- whatever you want. Just make sure to teach students how to do this first!) to the next task card and begin working on that one. (Start back at #3.)
5. Make sure to explicitly teach and remind students to add the number of the task card onto the Seesaw upload using the Drawing tool or Text Label tool.
I love the idea of Digital Scoot activities from Erin at Erintegration! If you have access to devices, these might be for you! Make sure to check out her blog post about them!
Do you Scoot in your classroom? I'd love to hear about it!
Do you Scoot in your classroom? I'd love to hear about it!


